Key Takeaways:
- Keep at least two types of plungers at home—a cup plunger for sinks, tubs, and showers, and a flange plunger for toilets—to handle most household clogs.
- Use the correct plunging technique: create a proper seal, pump steadily, and ensure enough water covers the plunger cup to maximize suction.
- Toilets require a flange plunger for best results; repeated, controlled plunging may be needed for stubborn clogs.
- Sinks and bathroom basins need the overflow hole blocked and some water in the basin to make plunging effective.
- Shower, bathtub, and floor drains can often be cleared with a cup plunger, but hair or debris may require a drain snake or manual removal.
- Avoid common mistakes: don’t plunge with insufficient water, the wrong plunger, or too aggressively, and never mix plunging with chemical drain cleaners.
- Maintenance and safety: clean your plunger after use, wear gloves, monitor for recurring clogs, and call a plumber if multiple drains are affected or the clog persists.
Have you ever faced a clogged sink, toilet, or shower and wondered if there’s a quick fix before calling a plumber? The plunger is one of the simplest, most effective tools in your home, but many people don’t know the full range of ways to use it. This guide will walk you through how to use a plunger for every household situation, with step-by-step tips, troubleshooting advice, and extra insights to make sure you never face a clog unprepared.
What Types of Plungers Should You Keep at Home?
Before we dive into specific uses, it’s important to know that not all plungers are created equal. Choosing the right type of plunger makes a huge difference in how effectively you can tackle clogs.
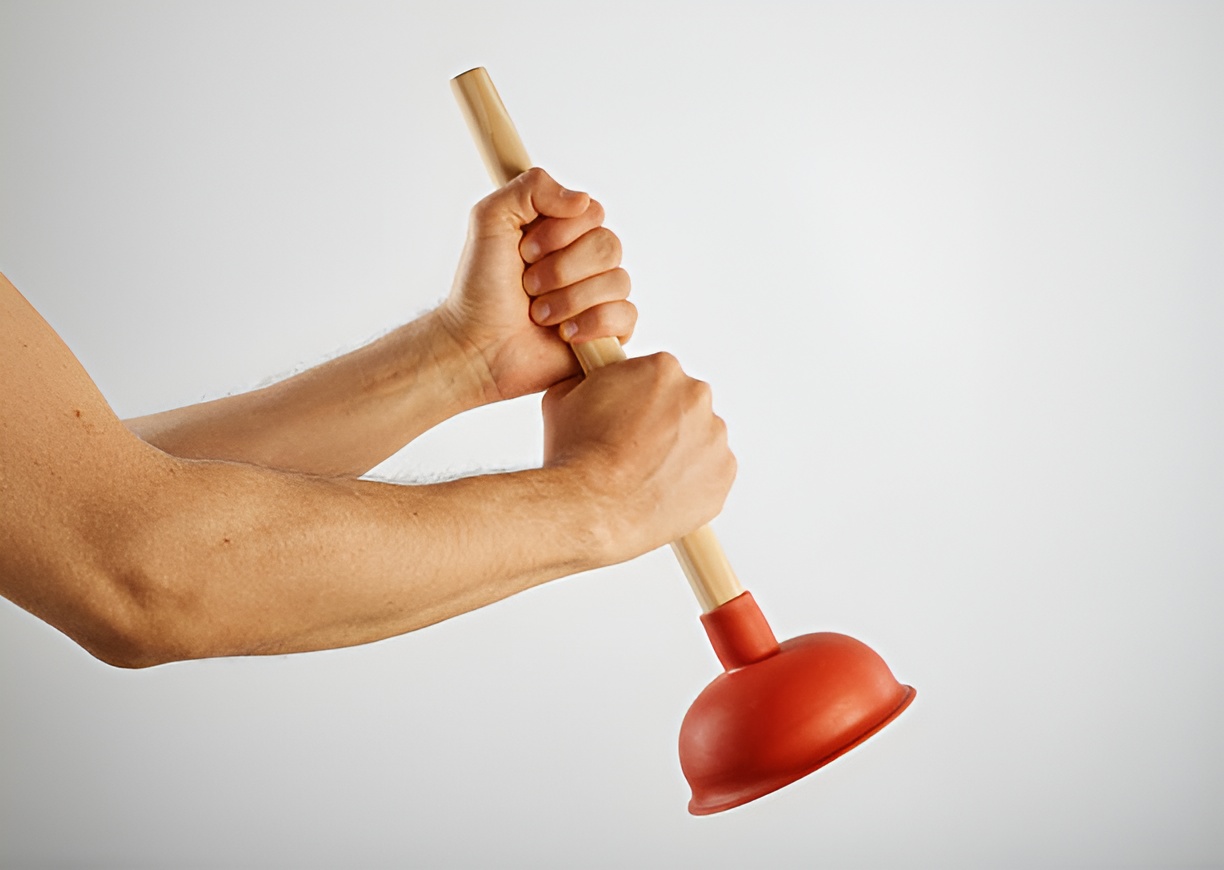
- Cup Plunger:
- Best for sinks, tubs, and showers.
- Features a simple rubber cup at the end of a handle.
- Works well for flat surfaces.
- Flange Plunger:
- Designed for toilets.
- Has an extra rubber flap (flange) that fits into the toilet drain for a tighter seal.
- Provides more suction and better results for deep clogs.
- Accordion Plunger:
- Also for toilets, especially stubborn clogs.
- Made of hard plastic with an accordion-like design.
- Provides strong pressure but requires careful handling to avoid splashes.
- Taze Plunger (or Special Seal Plungers):
- Modern versions for specialized drains.
- Often come with attachments for sinks or narrow pipes.
Having at least one cup plunger and one flange plunger in your home covers most household scenarios.
How to Use a Plunger on a Toilet
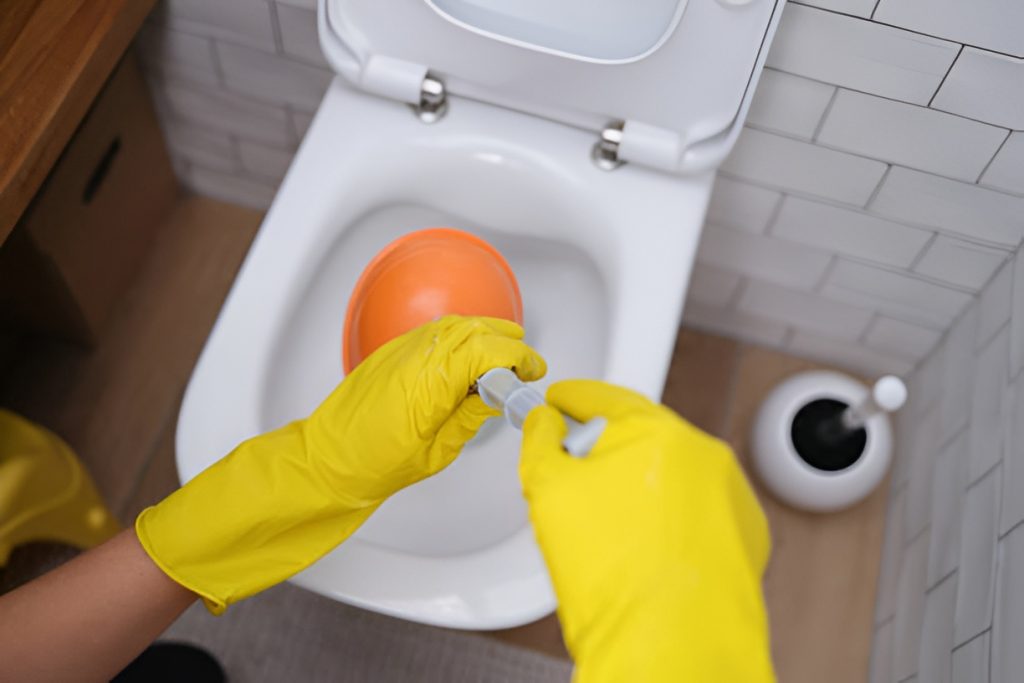
The toilet is the most common place we reach for a plunger, but using it correctly matters more than you think. Improper plunging can create splashes, fail to clear the clog, or even damage the toilet seal. Here’s a detailed guide to get it right every time.
Step-by-Step Toilet Plunging
- Choose the right plunger:
- Always use a flange plunger for toilets. The extended rubber flap fits directly into the drain, creating a stronger suction than a regular cup plunger.
- If you only have a cup plunger, it can work in a pinch, but the seal won’t be as tight and plunging may take longer.
- Position the plunger properly:
- Insert the flange fully into the toilet drain hole.
- Ensure the cup is completely submerged in water, as air pockets reduce suction and make plunging less effective.
- Angle the handle slightly to keep the cup flush with the drain for a complete seal.
- Create suction carefully:
- Push the plunger down gently at first to compress air in the cup.
- Pull up without breaking the seal, then repeat the push-pull motion.
- This back-and-forth action builds pressure that helps dislodge the clog.
- Pump slowly and steadily:
- Use controlled, rhythmic motions rather than rapid jerks.
- Rapid plunging can splash water, damage the wax ring, or cause the plunger to lose its seal.
- Check the water level:
- If the water drains smoothly, the clog has likely cleared.
- Flush the toilet once to rinse any remaining debris, but avoid multiple flushes if the clog isn’t fully gone—it may overflow.
- Repeat if necessary:
- Tough clogs may require 3–5 rounds of plunging.
- Take a short break if needed to avoid fatigue, which can reduce the effectiveness of your plunging technique.
Tips for Tough Toilet Clogs
- Ensure enough water covers the plunger cup; low water reduces suction and plunging power.
- Wrap a rubber glove around the handle for extra grip and control, especially if your hands get slippery.
- Avoid chemical drain cleaners—they can damage your pipes and toilet seals. A proper plunger technique is usually enough to solve most clogs.
- For persistent clogs, consider a toilet auger to reach blockages that plungers can’t dislodge.
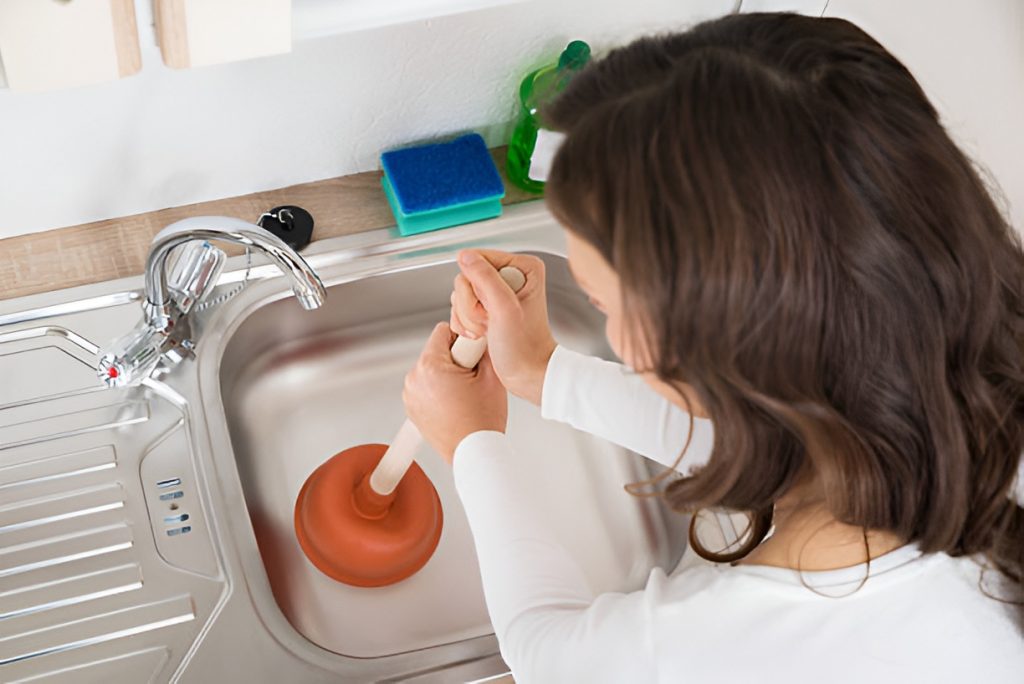
How to Use a Plunger on a Sink or Bathroom Basin
Sinks and bathroom basins can clog from hair, soap buildup, toothpaste, or small debris. While these clogs are usually less dramatic than a toilet backup, they can still slow down drainage and create unpleasant odors. Using a plunger correctly can solve most sink clogs quickly.
Preparing Your Sink
- Remove visible debris: Hair or soap scum around the drain can prevent the plunger from sealing properly.
- Plug the overflow hole: Most bathroom sinks have a small overflow hole near the rim. Cover it with a wet cloth to prevent air from escaping and maintain full suction.
- Add water to the basin: Fill the sink with 2–4 inches of water. The water acts as a medium to transfer the suction force into the drain, helping to dislodge the clog.
Plunging the Sink
- Use a cup plunger for flat surfaces, as it can create a better seal on sinks than a flange plunger.
- Position the plunger directly over the drain, ensuring the rubber cup covers the opening completely.
- Push and pull steadily for 15–30 seconds, maintaining the seal. Avoid rapid or uneven motions.
- Check the water flow: If the sink drains slowly, repeat the plunging cycle. Sometimes 2–3 attempts are needed for stubborn clogs.
Tips for Kitchen Sinks
- Dual sinks: Block one side with a wet cloth while plunging the other to increase pressure in the drain.
- Grease clogs: Avoid plunging hot water directly on greasy buildup—it can set the clog. Use warm water after plunging to wash away remaining residue.
- Debris traps: Remove any food or debris from strainers before plunging. Food particles can push further down the pipe if not cleared first.
- Persistent slow drains: If plunging doesn’t work, a plumbing snake or flexible auger may be needed to remove deeper clogs.
Can You Plunge a Shower or Bathtub?
Yes, but the technique differs slightly due to the flat drain surfaces.
- Remove the drain cover for better access.
- Fill the tub or shower base with a few inches of water.
- Use a cup plunger to create a tight seal over the drain.
- Pump steadily, checking water flow after a few cycles.
- Hair clogs may require a hair removal tool after plunging.
Dealing with Hair Clogs
- Hair often wraps around debris and makes the clog stubborn.
- After plunging, try a drain snake or wire hook to remove hair.
- Avoid chemical hair removers—they can corrode pipes over time.
Can a Plunger Fix a Clogged Floor Drain?
Floor drains in basements, laundry rooms, and garages can collect dirt, soap, and small debris. A plunger can often clear these quickly.
- Ensure water covers the plunger cup.
- Use a cup plunger if the drain is flat, or a flange plunger for deep, pipe-style drains.
- Pump steadily and check for water flow.
Tips for Basement Floor Drains
- Remove the grate before plunging for better suction.
- Wear gloves and protective footwear as standing water may contain dirt.
- If plunging doesn’t work, inspect the trap for larger debris.
How to Avoid Common Plunger Mistakes
Even seasoned homeowners make these common plunging errors.
- Not using enough water: Suction won’t form if the cup isn’t submerged.
- Using the wrong plunger: Cup plungers on toilets or flange plungers on sinks reduce effectiveness.
- Pumping too hard: Aggressive plunging can splash water and damage seals.
- Ignoring the overflow hole: Air escapes, reducing suction and prolonging the clog.
How Often Should You Use a Plunger?
Regular maintenance can prevent serious clogs.
- Plunge toilets and drains once a month if they’re prone to slow draining.
- Use preventative methods like drain screens to catch hair, soap, and food debris.
- Avoid flushing or pouring substances that can solidify in pipes.
Can You Plunge Multiple Drains at Once?
Sometimes a clog in one area affects multiple drains, such as in older homes with shared pipes.
- Start with the lowest drain in your home and work upwards.
- This allows gravity to assist in clearing blockages.
- If one drain remains clogged after multiple attempts, you may need professional help.
Household Situations Where a Plunger Comes in Handy
Beyond toilets and sinks, here are some creative ways a plunger can save the day.
- Bathtub overflow clogs: Remove the stopper and plunge gently.
- Garbage disposals: Plunging can help push debris through if the disposal isn’t grinding properly.
- Shower floor drains: Great for hair clogs.
- Outdoor drains: Rainwater or leaves can block outdoor drains; a plunger can help clear them.
- Laundry room drains: Clogs from lint or detergent buildup are often cleared with plunging.
How to Clean Your Plunger After Use
A clean plunger is essential for hygiene and longevity.
- Rinse thoroughly with hot water.
- Disinfect with a bleach solution or antibacterial spray.
- Let the plunger dry completely before storing.
- Store it in a bucket or holder to keep it separate from other cleaning tools.
When Should You Call a Plumber Instead?
Even the best plunging technique has its limits. Call a professional if:
- Multiple drains are clogged simultaneously.
- Water backs up despite repeated plunging.
- You notice gurgling sounds or foul odors coming from drains.
- Pipes are old or damaged, and a clog keeps recurring.
Frequently Asked Questions About Using a Plunger
Why is my toilet still clogged after plunging?
The clog might be too deep or solid for a plunger alone. Try a toilet auger or call a plumber.
Can I use a plunger on a garbage disposal?
Yes, but make sure the disposal is turned off. Never plunge while it’s running.
Is it safe to plunge with chemicals in the drain?
No. Chemical cleaners can splash back or react dangerously. Always rinse before plunging.
How do I prevent clogs from forming?
Use drain screens, avoid flushing wipes, and clean drains regularly with safe methods like boiling water.
Can plunging damage my pipes?
If done gently and correctly, plunging is safe. Aggressive plunging or using the wrong plunger can stress seals.
Tips for First-Time Plungers
- Wear gloves and old clothing—splashes happen.
- Take your time to create a seal and pump steadily.
- Start with smaller plunges to feel the suction before full-force pumping.
- Keep towels or rags nearby to clean up any spills.
Wrapping It Up
A plunger is more than a last-resort tool—it’s a versatile, essential part of home maintenance. Knowing how to use a plunger for every household situation—from toilets to sinks, showers, and floor drains—can save you time, money, and stress. Keep the right types of plungers on hand, learn proper technique, and practice regular maintenance to stay ahead of clogs. With these tips, you’ll never face a stubborn drain unprepared.